How to convert your router to Access Point in an easy way
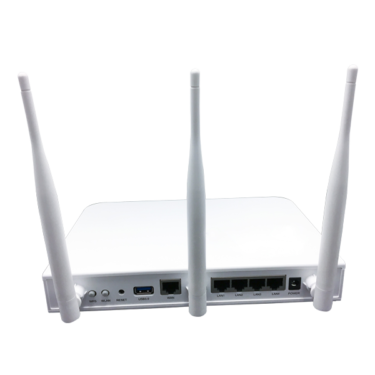
The Internet has evolved significantly in the previous period and spread in most homes and places more than ever, which led to the possibility of having more than one router for some users, which can be used in something useful for extra routers.
Some users also suffer from weak internet signal on their phones or even on the computer and laptop due to the distance of the router from them, as the router has a small coverage range, and here comes the need for an access point through which users can expand the range of coverage of the router signal in a simple way Practical, but instead of buying an access point, you can use any old router to easily switch to the access point.

Therefore, in this article, we will explain how to convert a router to Access Point so that users can use their additional router to extend their primary router signal coverage and boost Wi-Fi signal in an easy and simple way to solve the weak signal problem.
How to convert a router to an access point?
You can simply do this easily with the old router, adjust its settings, switch to the re-broadcast access point, and distribute the Wi-Fi signal via some steps and requirements.
Requirements for converting a router to Access Point:
- You must have an additional router to switch to Access Point.
- A factory reset should be performed for this router.
- The old router’s IP address must be changed so it doesn’t conflict with your primary router.
- DHCP Server services must be disabled.
- Network settings must be set such as Wi-Fi network name, password, and encryption type.
Steps to convert a router to Access Point:
- Initially, you need to click on the Reset button from the button next to the power button on the router and continue to press it until all lights on the router are cleaned.
- Connect the router to the computer and log in to the default router page through the browser, which is 192.168.1.1 by default.
- The router page will ask you to log in with your username and password, both of whom will be responsible.
- Enter the main option then Wan, uncheck the confirmation in front of the Wan connection option, then click Submit.
- You have to change the router’s IP now so it doesn’t conflict with your primary router by going to LAN option from the Basic tab then changing IP to anything else like 192.168.1.12 then clicking send to save what i did this.
- The browser will prompt you to re-enter the router page, so you need to enter the page via the new IP that we changed.
- After re-entering the router page, we go to the basic option, then LAN again, remove the confirmation sign from in front of the DHCP server option, then click the send option to save.

Set network options on the old router:
- You should now set the network settings that you will connect to via the side menu and choose Basic, then WLAN and choose Japan through the region option, and through the channel option we choose the number 7 and then we choose the network name through the SSID option in order to set the password, we choose wpa-psk / wpa2 -psk In the pre-subscribed WPA option we type the appropriate password and after completion we click on the Submit option to save.
- Now connect the router and turn it on for use as an access point.
Note: The steps mentioned in this article are valid for most types of routers used with different names.


