How to prepare a Mac computer to send and receive text messages and calls
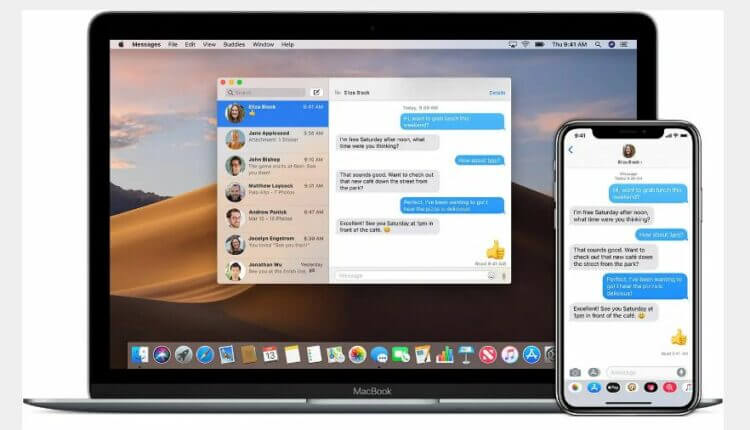
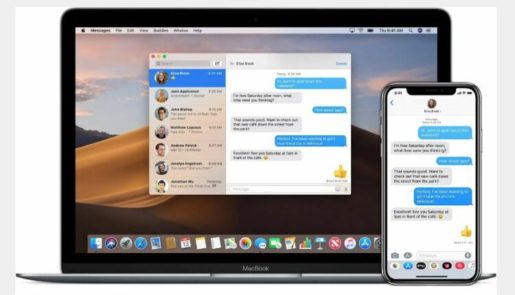
If you prefer to write text messages on a Mac computer keyboard instead of an iPhone phone keyboard, or do not want to switch devices to answer a text message or a call, you can set up your Mac computer to receive calls and text messages instead of your iPhone.
Here’s how to set up your Mac to send and receive text messages and calls instead of iPhone:
iPhone should work with iOS 8.1 or later, and Mac OS with OS X Yosemite or later.
Remember, you will not be able to transfer your contacts from your Mac computer to the iPhone, instead, you will have to set up or sync iCloud contacts, and you must ensure that you are logged into messages on your Mac computer and your iPhone. Using apple id. Himself.
First: Log in to the messaging app:
Make sure you are signed in to the Messenger app on your Mac and iPhone with the following steps:
To check your Apple ID on iPhone:
- Open the (Settings) app.
- Click “Messages”, then select “Send and Receive”.
To check your Apple ID on a Mac computer:
- Open the (Messages) application.
- In the menu bar, click Messages, then choose Preferences from the drop-down menu.
- Click (iMessage) at the top of the window.
Second: Set up text message forwarding:
To prepare your Mac computer to receive SMS messages sent to iPhone, follow these steps:
- Open the (Settings) app on the iPhone.
- Click Messages, then click Forward text messages.
- Make sure the toggle switch is switched on (Mac).
Third: Log in to FaceTime and iCloud
Ensure that both devices are connected to the same Wi-Fi network and that you are signed in to FaceTime and iCloud on both your computer and phone using the same Apple ID, with the following steps:
- On iPhone: Open the (Settings) app, and you will see your Apple ID at the top of the Settings screen, scroll down and tap (FaceTime) to see which account you activated.
- On a Mac: Click the Apple icon in the upper-left corner of the screen, then select (System Preferences). Make sure you’re signed in to the correct Apple account, then open the FaceTime app.
- In the menu bar at the top of the screen, click (FaceTime), then select (Preferences) from the drop-down menu, you should see the account you are logged into at the top of the window.
Fourth: Allow calls to other devices:
Now you will need to adjust some settings for iPhone and Mac.
On an iPhone, follow these steps:
- Open the (Settings) app.
- Click (Phone), then click Calls to other devices.
- Make sure the toggle switch is on next to (Allow calls on other devices).
- On the same screen, make sure to switch the switch next to (Mac).
On a Mac computer, follow these steps:
- Open the FaceTime app.
- Click (FaceTime) in the menu bar at the top of the screen and choose (Preferences).
- Click “Settings” in the popup window.
- Check the box next to Calls from iPhone.
Fifth: Make and answer calls from a Mac computer:
Once your Mac computer and iPhone are connected, you will see a notification in the lower left of the Mac computer screen to notify you of the arrival of a new call or message, where you can accept or reject through the relevant buttons.
To make calls, you’ll need to open the FaceTime app on your Mac computer, where you’ll see a list of recent calls and missed calls, and you can click the phone icon next to anyone in this list to call back.
If you need to make a new call, you will have to type the name of the contact in the search box or type his phone number or Apple ID directly, then press the call button, and when calling other FaceTime users, keep in mind that (FaceTime) is a custom option. For video calls, the (FaceTime Audio) option is for regular phone calls.
